创建 conda 环境
- 安装 anaconda 或 miniconda (linux)
1 | # 下载 |
- 创建虚拟环境
1 | conda create -n train python=3.9 # 名字train + python 版本3.9 |
- 激活虚拟环境
1 | conda activate train # 激活虚拟环境 |
- 设置 pip 路径 (若发现无法直接使用pip,将软件安装如虚拟环境中请输入如下代码)
1 | alias pip='虚拟环境的位置/bin/pip' |
- 安装 torch
1 | pip install torch==2.3.0+cu121 -f https://download.pytorch.org/whl/torch_stable.html |
- 配置需要的包
1 | wget -O requirements.txt https://www.pan.hekaiyu.com.cn/d/file/python/env/requirements.txt?sign=SmPNzV5IjN2sZL9p4iDz675aiVM7M4ASiB7JNoq2ceo=:0 |
- 预先下载好的包
1 | # 先wget提取下载需要安装的包(或者本地下载上传) |
如何安装 docker
- 卸载过期的包
1 | for pkg in docker.io docker-doc docker-compose docker-compose-v2 podman-docker containerd runc; do sudo apt-get remove $pkg; done |
- 安装必要的包
1 | Add Docker's official GPG key: |
- 下载 docker
1 | sudo apt-get install docker-ce docker-ce-cli containerd.io docker-buildx-plugin docker-compose-plugin |
- 添加用户组
1 | sudo usermod -aG docker $USER |
- 基本使用命令
1 | docker images # 查看镜像 |
问题
1 | docker: Error response from daemon: Get "https://registry-1.docker.io/v2/": EOF |
网络无法连接
配置的源
1 | sudo vim /etc/docker/daemon.json |
1 | { |
如何设置代理
Github使用指南(待修改)
- 将 Git 与 Github 绑定
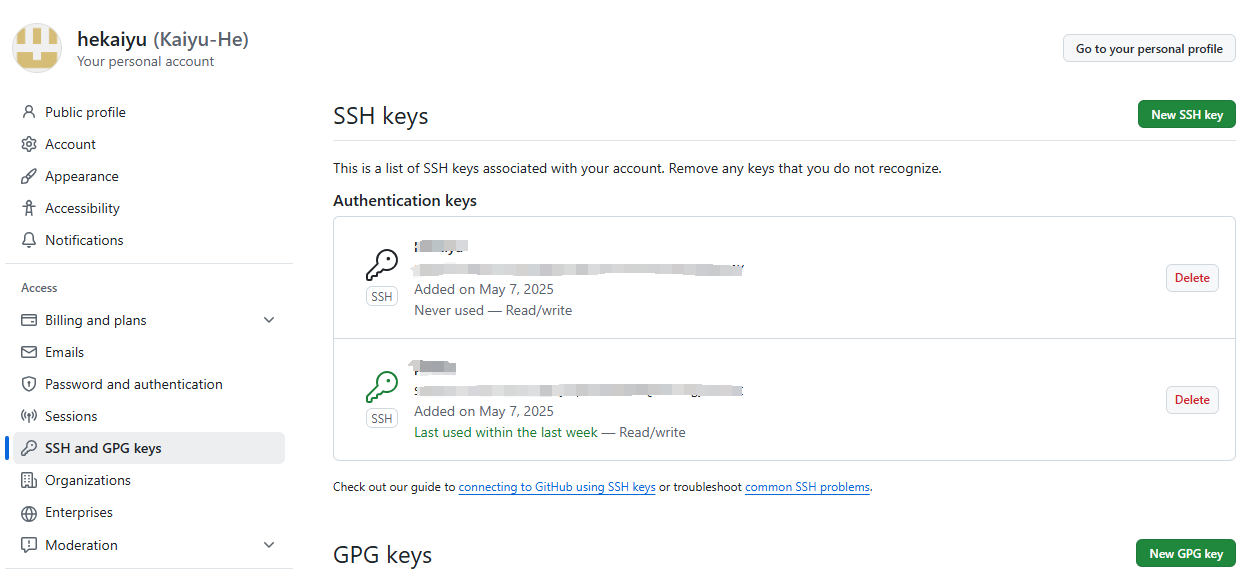
- 获取 ssh key
1 | cd ~/.ssh |
- 若返回 “no such file or directory” 表明电脑没有ssh key,创建ssh key
1 | ssh-keygen -t rsa -C “git账号邮箱” |
- 在 .shh 目录下获取 id_rsa.pub 文件里面存储的是公钥并绑定到到自己的 GitHub 上

- 在 Git bash 中,输入:
1 | ssh -T git@github.com |
检查是否绑定成功
- 配置绑定信息
1 | git config --global user.name “gitname” |
- 提交代码
1 | cd /path/to/your/project # 进入本地项目目录 |
- 拉取项目
1 | git pull origin main |
- 获取 github 项目的代码
1 | git clone https://github.com/Kaiyu-He/env.git |
许可协议
本文采用 署名-非商业性使用-相同方式共享 4.0 国际 许可协议,转载请注明出处。
分享文章


